At SoleWeavers, every shoe has a soulful journey. Every sole is made by a soul, for a soul.
THE JOURNEY
OF A SOLE TO A SOUL
01
Designing
Designing a shoe requires creative vision. The artisans at Sole Weavers with an experience of over a decade in shoe making are much familiar with what makes a shoe look good and most importantly, perform well. Besides the in-house designs, even the personalised styles ordered by the clients are refined, to ensure that they are technically correct. They are then provided to the artisans with initial sketches, that are either hand drawn or digital.
These sketches view the shoe model from multiple angles.
02
The Shoe Last
A shoe needs a last before it goes into production. This physical basis, is a mould either carved out of wood, plastic, PU or metal that imitates a foot to give the shoe its shape. Every left and right shoe needs a last so that its shape and size can be modified. There are a number of things taken into account while creating a shoe last. Some of them include how a foot rolls when you walk and other factors consist of heel height. In the later stages of shoe-making process, the last is placed inside the shoe so that it can be modelled around and to ensure that the final fit matches the original design.
03
Pattern Making
Stamping or pattern making takes place with the shoe design being stamped on the desired material in order to hack the shoe pattern. Once again, in the later stages of production, these patterns are placed on the selected shoe lasts along with sole and insole to determine the accuration.
04
Sewing
Once the pattern has been made and pieces have been stamped they’re marked to indicate the details of the shoe. Suppose, if the shoe design has certain cutouts or perforation, these will be shown through visible markings. While sewing, firstly, the upper half of the shoe is stitched together, followed by the lining.
04
Assembling
Assembling is a prime step in the shoemaking process. In this step, all pieces, including the ones that are sewn are put together. The insole is temporarily attached to the lasts with nails and the upper is fixed to the outsole. The rubber ridge is placed on the insole and the upper is lasted and pulled tight. This gives the shoe its final shape. It is then joined with the insole with the help of hot glue and nails.
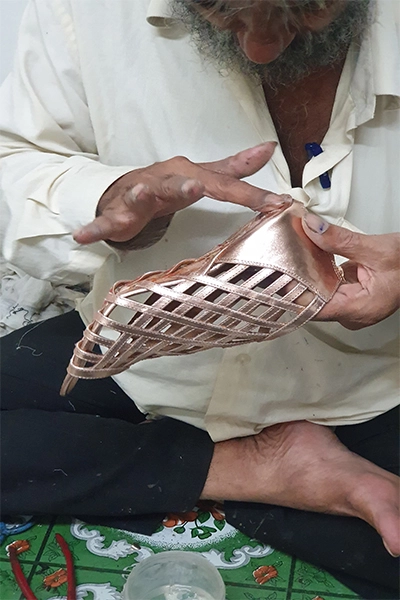
05
Final Assembling
Next, the welt is stitched to the upper and the lining and a shank is placed between insole and outsole. A shank, is made out of plastic or fibreglass which provides support to the foot and gives the shoe a structure.
Once the shoe is assembled, the pins are removed and the holes are integrated or sealed. Finally, we put our brand’s logo before taking the shoe for a thorough cleaning.
06
Shoe Room
In the shoe room, a shoe undergoes finishing. It is polished to a high shine and extra material such as laces are threaded through. A shoe also gets clean with a skin-friendly chemical. After a final quality check, the shoe is packed up, photographed, and displayed on our website or delivered to the customers or retailers.
Cash On Delivery | Free Shipping on Above Rs. 3300 | Customization is available for every design | Sizes available from 33 to 44 | We tailor bridal sneakers